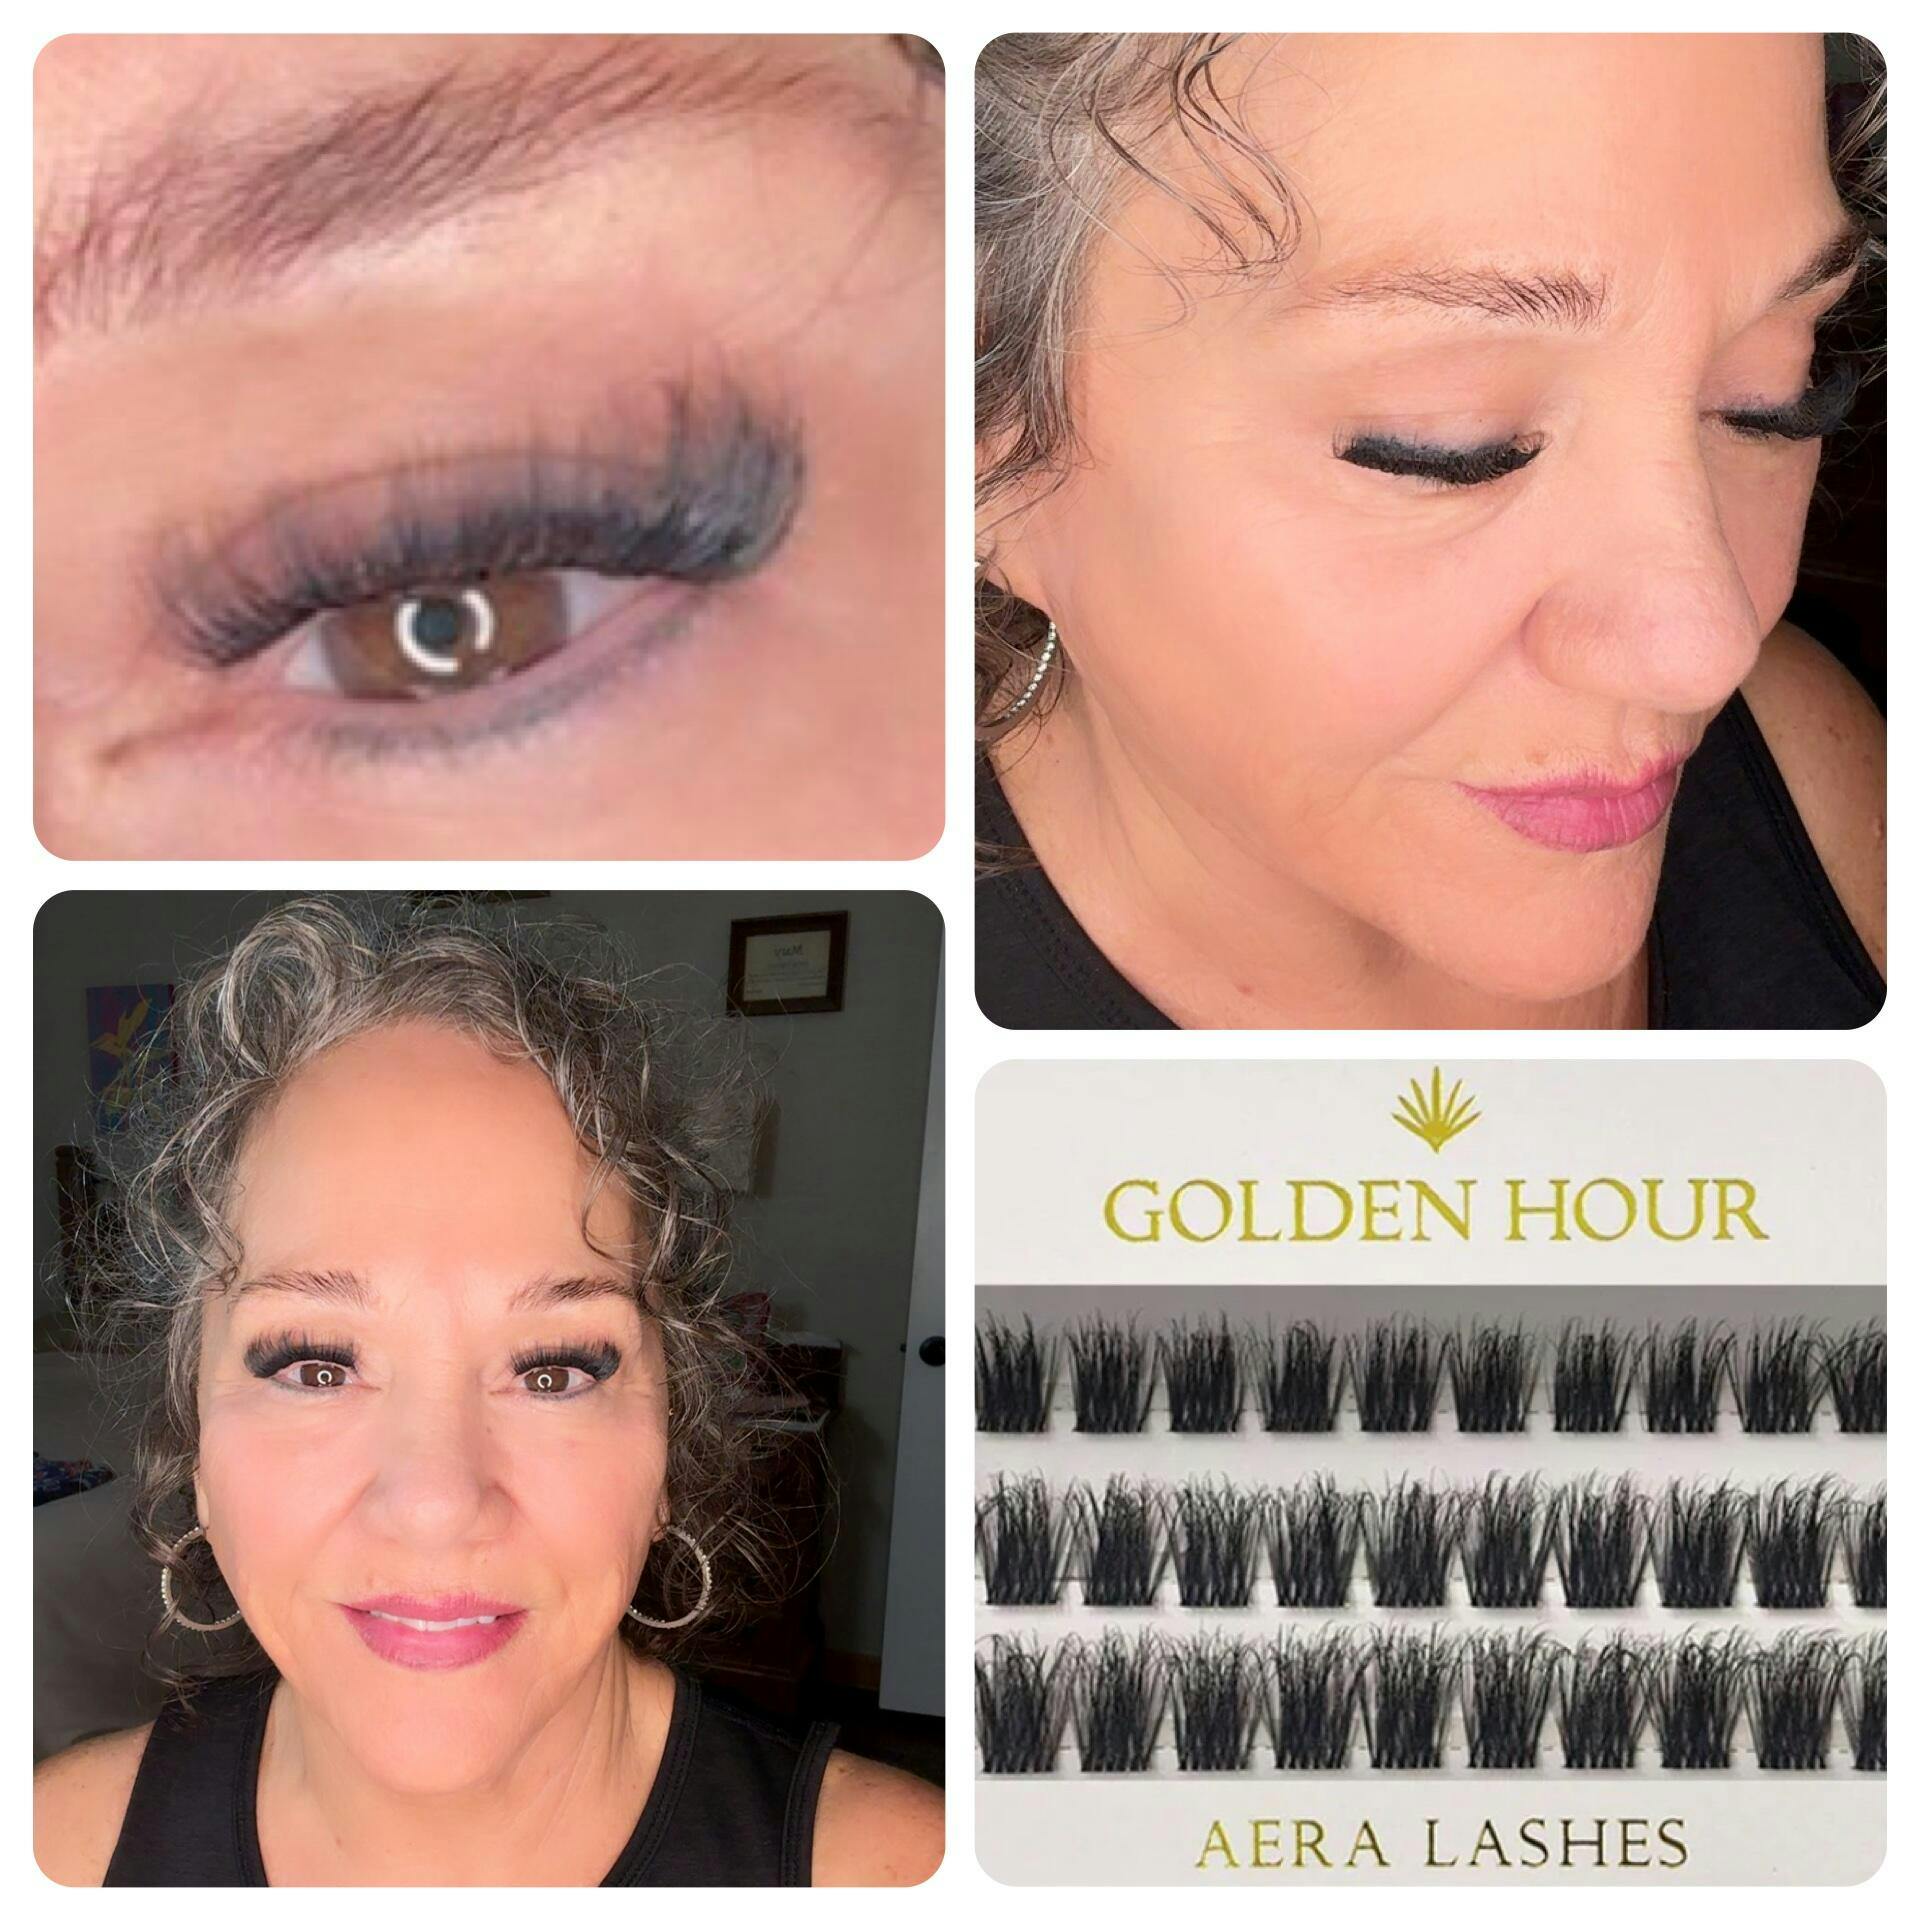
When it comes to achieving the perfect lash look, fit is everything.
Whether you're using our DIY lash extensions or our customizable strip lashes, knowing how to trim your lashes properly can completely change the final result — making your lashes look more natural, more custom, and more you.
If you’ve ever wondered, “Should I trim my false lashes?” or “How do I customize strip lashes to fit my eyes?” — you’re in the right place.
Here's your easy, Aera-approved guide for trimming your lashes like a pro. ✂️✨
✨ Why You Should Trim Your Lashes
Not every eye shape is the same — and that’s exactly why pre-mapped lash extensions and strip lashes sometimes need a little adjustment.
Trimming your lashes ensures:
- A more natural and comfortable fit
- Better lash retention
- A look that’s perfectly tailored to your unique eye shape
Pro Tip: A well-trimmed lash lifts your eyes, balances your features, and avoids that "too-long-at-the-ends" sagging look.
✂️ How to Trim DIY Lash Extensions or Strip Lashes
Step 1: Measure First
Before trimming, hold the lash (strip or cluster) up to your natural lash line without applying glue.
This gives you a sense of what (if anything) needs to be removed.
Step 2: Trim from the Outer Edge Only
If the lash is too long, always trim from the outer (longer) end, not the inner (shorter) corner.
Cutting the inner corner can ruin the natural eye-flattering design.
Step 3: Trim a Little at a Time
Cut small sections (1-2mm at a time).
It's better to trim less and recheck the fit than to accidentally over-trim.
Step 4: Customize Your Shape (Optional)
For an even more custom lash map, you can trim clusters individually to create your perfect:
- Doll-eye look (longer in the center)
- Cat-eye effect (longer at the ends)
- Soft wispy finish (alternate longer and shorter clusters)
Step 5: Apply and Seal
Once trimmed to perfection, apply using Aera’s Clear or Black Lash Glue, press with your Aera Lash Presser, and enjoy your flawless, tailored lash look!
🖤 Aera’s Top Tips for Trimming Lashes
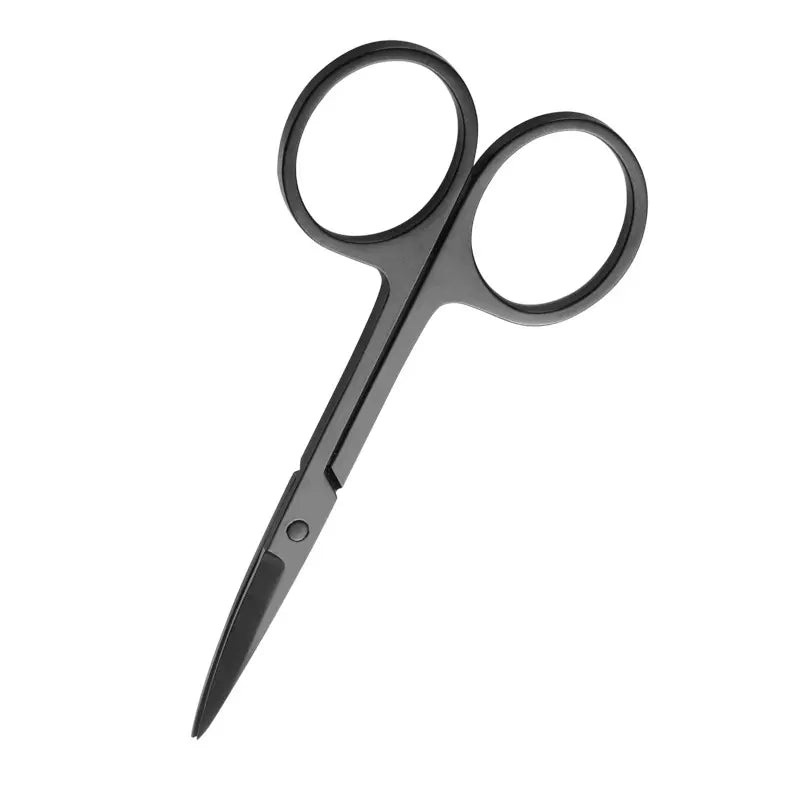
- Use Aera’s Precision Lash Scissors for the cleanest cut — dull scissors = frayed lash bands!
- Always measure and re-measure — trimming too much too fast is the #1 rookie mistake.
- Keep trimmed lash pieces — they can be used for creating a soft, stacked corner lash moment later.
- If you’re customizing strip lashes, you can even cut them into halves or thirds to apply underneath for a softer DIY lash extension effect.
✨ Final Thoughts
Trimming your lashes isn’t scary — it's empowering.
A little snip here and there can turn a basic lash into a custom, face-framing masterpiece made just for you.
Whether you’re perfecting your DIY lash extensions or tweaking a customizable strip lash from Aera Lashes, learning how to trim gives you ultimate control over your final glam.
Because at Aera, we believe your lashes should fit you — not the other way around.