Hello, beautiful souls!
We all know the transformative power of long, luscious lashes. They can make your eyes pop and your confidence soar. If you're a fan of DIY lashes, you probably appreciate the freedom and creativity they offer. However, the struggle to make them last can be real. But fear not! We've got you covered. In this blog post, we'll share some tried-and-true tips to make your DIY lashes last longer, ensuring that your eyes captivate the room all day and night.
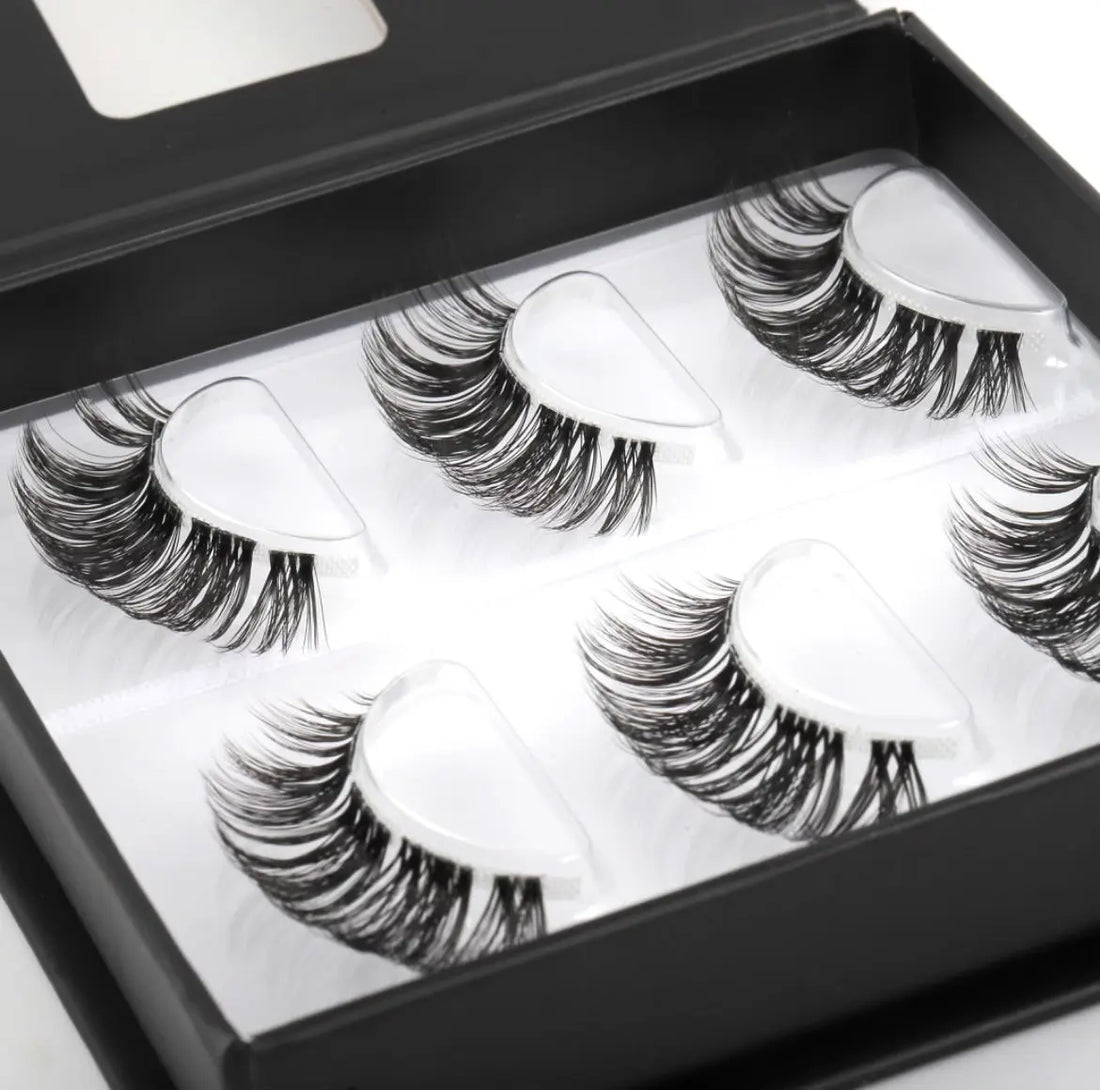
**1. ** Invest in Quality Lashes:
Start with high-quality lashes like those from Aera Lashes. Quality lashes are made from durable materials and designed to withstand multiple uses with proper care. Aera Lashes offers a range of styles to suit every eye shape and occasion.
**2. ** Properly Prep Your Natural Lashes:
Cleanse your natural lashes thoroughly before applying your DIY lashes. Use a gentle, oil-free cleanser to remove any traces of makeup, oils, or dirt. This ensures better adhesion and longevity for your falsies.
**3. ** Trim and Customize:
One size doesn't fit all. Trim your DIY lashes to match the length of your natural lash line. Also, customize the width to fit your eye shape perfectly. A well-fitted lash strip is less likely to lift or come off prematurely.
**4. ** Choose the Right Adhesive:
Invest in a high-quality lash adhesive that is latex-free and waterproof. Apply a thin, even layer of adhesive on the lash band and let it become tacky for a few seconds before applying. A good adhesive creates a strong bond without damaging your natural lashes.
**5. ** Apply with Precision:
Use a pair of fine-tipped tweezers to pl ace your DIY lashes as close to your natural lash line as possible. Press the lashes gently onto your natural lashes using the back of the tweezers. Hold them in place for a few seconds to allow the adhesive to set.
**6. ** Avoid Excess Mascara:
Limit the use of mascara on your DIY lashes. Excessive mascara can clump and weaken the lash band, making them prone to damage. If you want to add some extra volume, apply mascara to your natural lashes before putting on the falsies.
**7. ** Remove with Care:
When it's time to remove your DIY lashes, be gentle. Soak a cotton pad in a gentle oil-free makeup remover and hold it against your closed eyelid for a few seconds to loosen the adhesive. Avoid pulling or tugging, as this can damage both your natural and false lashes.
**8. ** Clean and Store Properly:
After each use, remove any remaining adhesive from the lash band using tweezers. Cleanse your DIY lashes with a mild, oil-free cleanser to remove any makeup residue. Store them in their original packaging to maintain their shape and protect them from dust and debris.
By following these tips and using high-quality products like Aera Lashes, you can enjoy the beauty of DIY lashes for multiple uses. Remember, a little care goes a long way in preserving the longevity and allure of your favorite falsies. So, go ahead, bat those lashes, and let your eyes do all the talking!
Until next time, keep sparkling!
With love,
The Aera Lashes Team